Jana Patton
  • Home
  • About
  • Design
  • Animation
  • Videography
  • Photography
  • Blog

Watch This

3/15/2013

0 Comments

 
Picture
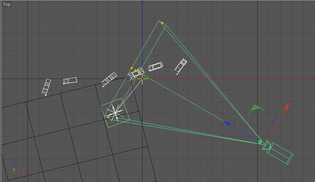
Yes! Finally learning how to model, C4D.
0 Comments

Man in Uniform

3/15/2013

0 Comments

 
Picture

0 Comments

Retro  Hopper

3/8/2013

0 Comments

 
Picture
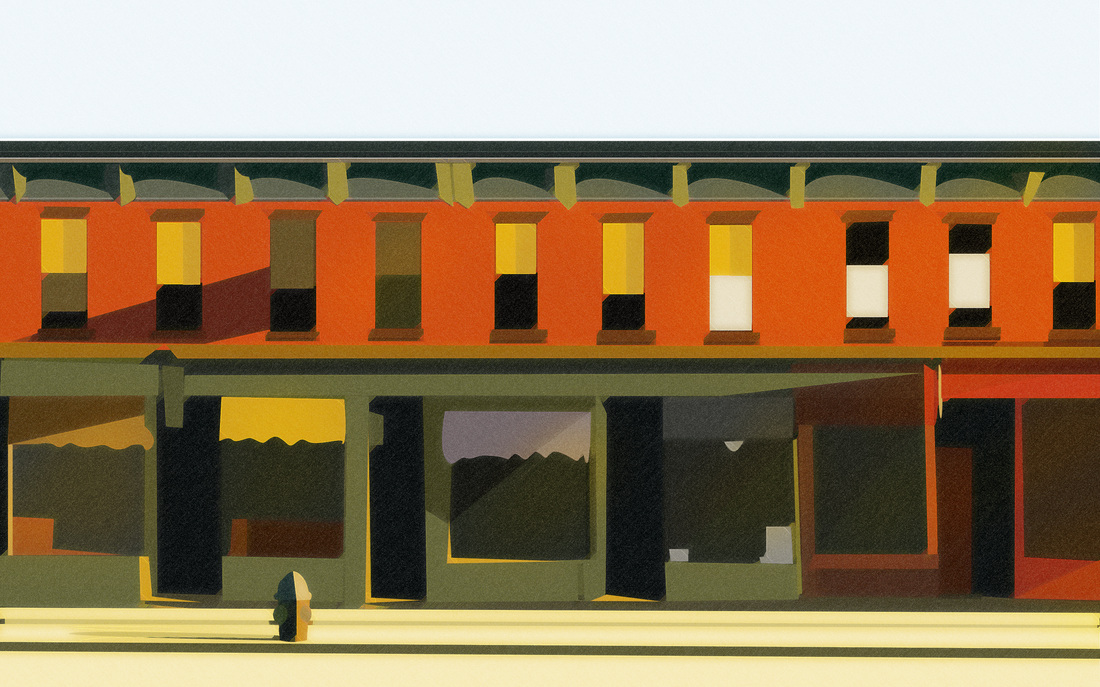
Made this today in Illustrator and Photoshop.  Based on a famous painting by Edward Hopper.  I tried to play with hard shadows to give it the look I wanted.  

0 Comments

Cloner

3/1/2013

1 Comment

 
Picture
Picture

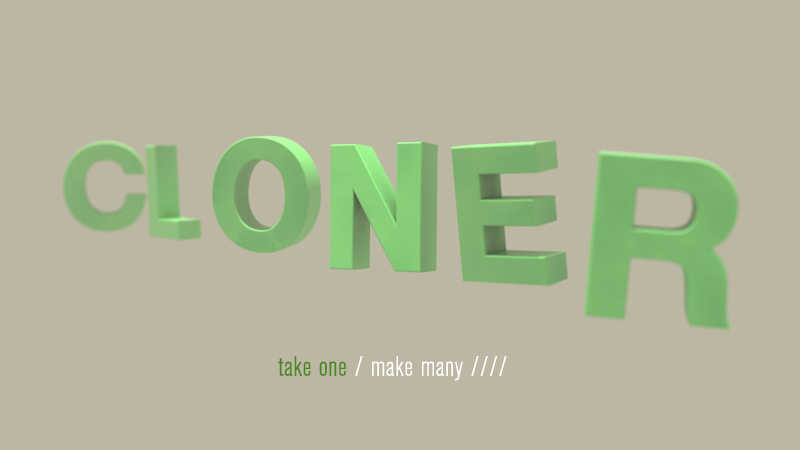
I wanted to find a word within a word and highlight the word within.  Cloner is an interesting word because in Cinema 4D you use it all the time to duplicate objects, and it also happens to have the word one inside it.  So I chose that.  I used the Physical Renderer and turned on depth of field.  Then added a camera and played with the f stop to get the right depth of field.  It didn't work like I wanted to until I went to Edit > Scale project.  I used linear daylight and fog for light.  

1 Comment

Pen & Ink & Photoshop

2/28/2013

0 Comments

 
Picture
Picture

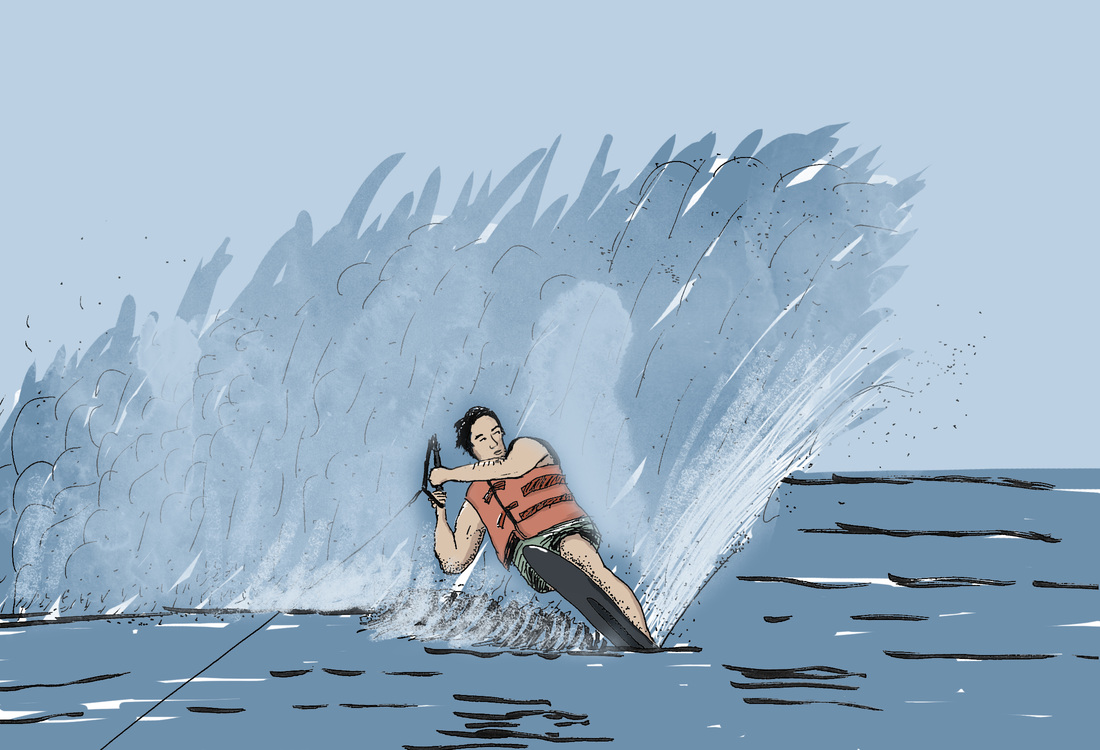
So I found an old picture of my dad skiing at Lake Martin.  I drew a quick Pen & Ink sketch of it, then scanned it in.  Took the drawing into Photoshop to fine tune it and color it.  I used Levels to darken the ink because the scan mutes the black a little. (Drag middle slider to right).  Then added a new layer on top and Image > apply image to stamp all on that layer.  Select > Color Range to pick the blackest black.  Set fuzziness high.  Then cut and paste this selection onto a new layer so that you can color underneath the black.  Then turn on the soundtrack to Les Miserables, and boom, a couple hours layer you have a colored drawing! (Didn't quite stay true to likeness.)

0 Comments

Got Ambient Occlusion?

2/26/2013

0 Comments

 
Picture
Picture
Did some experimenting with the render settings in Cinema 4D.  Mostly the Standard Renderer with Ambient Occlusion and Global Illumination. Then messed with the Physical renderer.  GI really bounces the light and AO helps with the details in the shadows.  Then finished up in Photoshop.
0 Comments

Baseball

2/22/2013

0 Comments

 
When CS6 came out, there was a lot of excitement because of the capability to convert Illustrator layers into shape layers in After Effects.  So much can be done with shape layers in AE.  

I had fun drawing this baseball field in Illustrator using basic shapes, strokes and, of course, the Pathfinder tool again.
Here is the rest of what I did in a nutshell.

  1. Make the shapes in Illustrator
  2. Import into After Effects as a composition, double click comp to open it
  3. Select layer and go to Layer > Create Shapes from Vector Layer
  4. Go to View > and deselect Show layer controls (just to make it easier to see)
  5. Twirl down your shape layer contents
  6. Add > "group" and just call it groups, then put all your groups in there
  7. Add > Trim Paths, and animate the Start
  8. Add > the Wiggle Transformation and set Wiggles/sec to 0.
  9. Twirl down the wiggle transform and keyframe the position and rotation so they start with a large number and end in 0.
  10. Make your keyframes all Easy Ease.


0 Comments

Life Moves Fast

2/22/2013

1 Comment

 
In following this tutorial I learned:
  • Sweep nurbs for shape
  • Shader for color
  • Coloring and lighting text without a light, using luminance in the material
1 Comment

What if?

2/20/2013

0 Comments

 
Picture
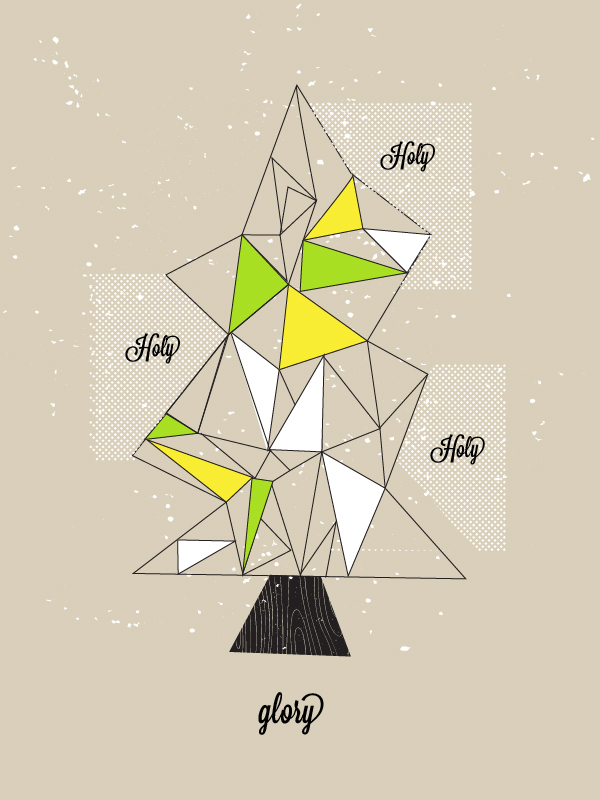
Designed this using mainly the pathfinder tools in Illustrator. 
 To create the stripes:
  1. Type in your text that you want to be a stripe
  2. Make your stripe shapes, then select all of the stripes and in the pathfinder window, hit Unite 
  3. With the text layer selected, click Make Compound Shape, then Expand (in the Pathfinder window)
  4. Place the stripe layer over the text layer
  5. Select both the type layer and the layer with stripes, and hit Minus Front from the Pathfinder window (make sure the stripe layer is above the text layer

Note:
To create even stripes, use a grid.
  1. Draw a rectangle about the size of your work area.
  2. With the rectangle selected, click Object > Path > Split into Grid...
  3. Change the number of rows and columns to make the size equal to what you want the size of the stripes to be (clicking preview will help you visualize) Click ok
  4. Right click on the rectangle and choose Make Guides
  5. You will now have guides that you can use to draw even rectangles within to create stripes
0 Comments

Christmas in February

2/20/2013

0 Comments

 
Picture
0 Comments
<<Previous

    Daily Creations

    This is a space to share things I make. 

    Archives

    March 2013
    February 2013
    January 2013
    December 2012
    November 2012
    October 2012
    September 2012
    August 2012
    April 2012
    February 2012

    Categories

    All
    Adobe Ideas
    After Effects
    Animation
    C4d
    Football
    Illustrator
    Pen & Ink
    Photoshop
    Video

    RSS Feed